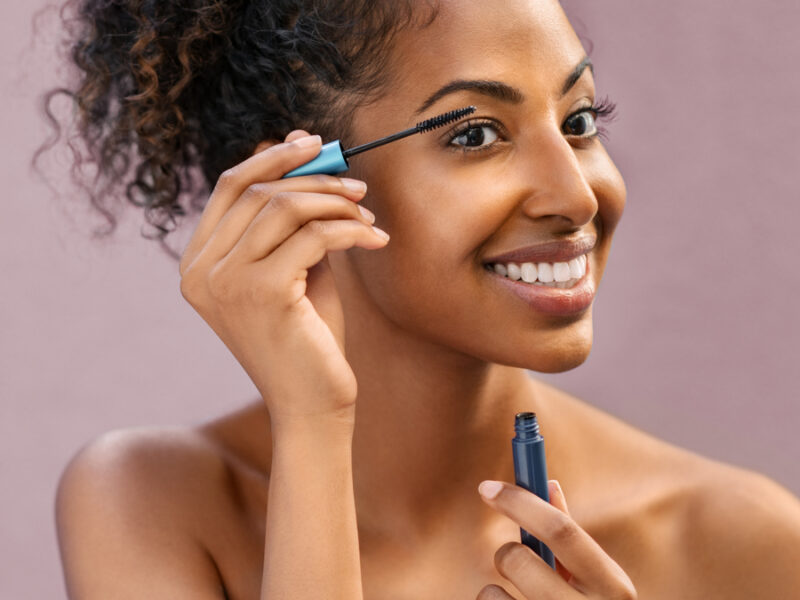
Look for how to do eyebrows like a pro? We’ve got expert advice and reveal some hacks and tips on nailing the arch and shape every time
Women, and men, of a certain age – basically anyone who grew up in the 1980s and 90s – will remember when the fashion for eyebrows was to pluck them within an inch of their life. Knowing how to do eyebrows was as simple as “shave them off, draw a single line” and the thinner, the better.
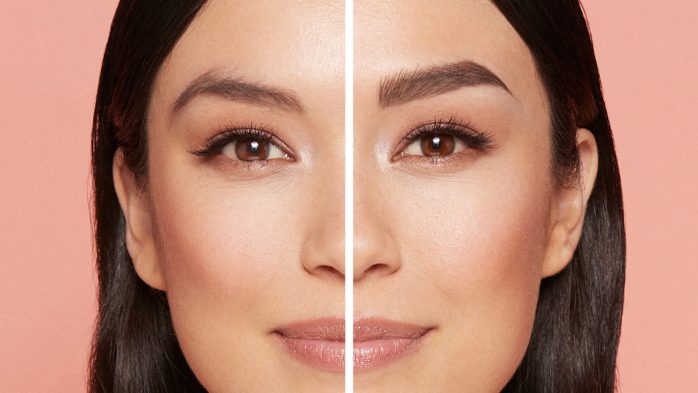
Now the opposite is true. 2019 was the year thicker eyebrows went mainstream and thick and natural has been the way to go over the few years. The problem with this is, if your natural brows are still stuck in the 1990s, you’ll have to fake it until you can make it.
We recently explained how to get thicker eyebrows in a How-To guide, which references a number of products designed to help you get fuller eyebrows. But if you’re interested in how to do eyebrows more professionally, our resident makeup artist Victoria Howe has revealed her top tips in the latest in our Ask the MUA series below.
Victoria is the owner and Chief Makeup Artist at Victoria Howe Make Up. You can also follow Victoria’s looks on her Instagram page, @victoria_howe_makeup.
READ NEXT: Thinning eyebrows: What causes hair loss?
From sculpting to filling them in, below we explain the quick and easy way to draw eyebrows, even if you’re a beginner. We’ve also tried and tested the best brow pomades, pencils and gels, and the best tweezers for eyebrows in our Best Buys.
There is a couple of ways you can shape your brows. One is analogue and the other is digital.
To map the start of your eyebrows, take an eyebrow brush and line it up vertically with the middle of your nostril upward towards the brow. Put more simply, lay it along the inside of your nose and the pencil should fall just outside of the inner corner of the eye; this is roughly the point where you want your eyebrows to begin. Mark this spot with the eyebrow pencil.
To find where the eyebrow curve should be, pivot the brush so it is angled from the tip of your nose diagonally going upwards towards the brow but crosses just outside the iris of your eye. You’ll need to stay looking forward in order to get the best position of your iris. Mark this spot with the eyebrow brush. This is where the highest point of your arch should be. It typically lines up with where your browbone stands out the most.
Now, to find the end of your eyebrow, move the pencil again, this time so that it falls diagonally from the outer part of the nose to the outer corner of your eye. This is where you generally want your brow to end. Mark this spot with a pencil.
Stand back and you should be able to see where your brows should begin, arch and end and you can use this as a guide for grooming and filling in the brows. The video below explains it more easily than we can!
READ NEXT: How to get thicker eyebrows
 mamabella | mamabella
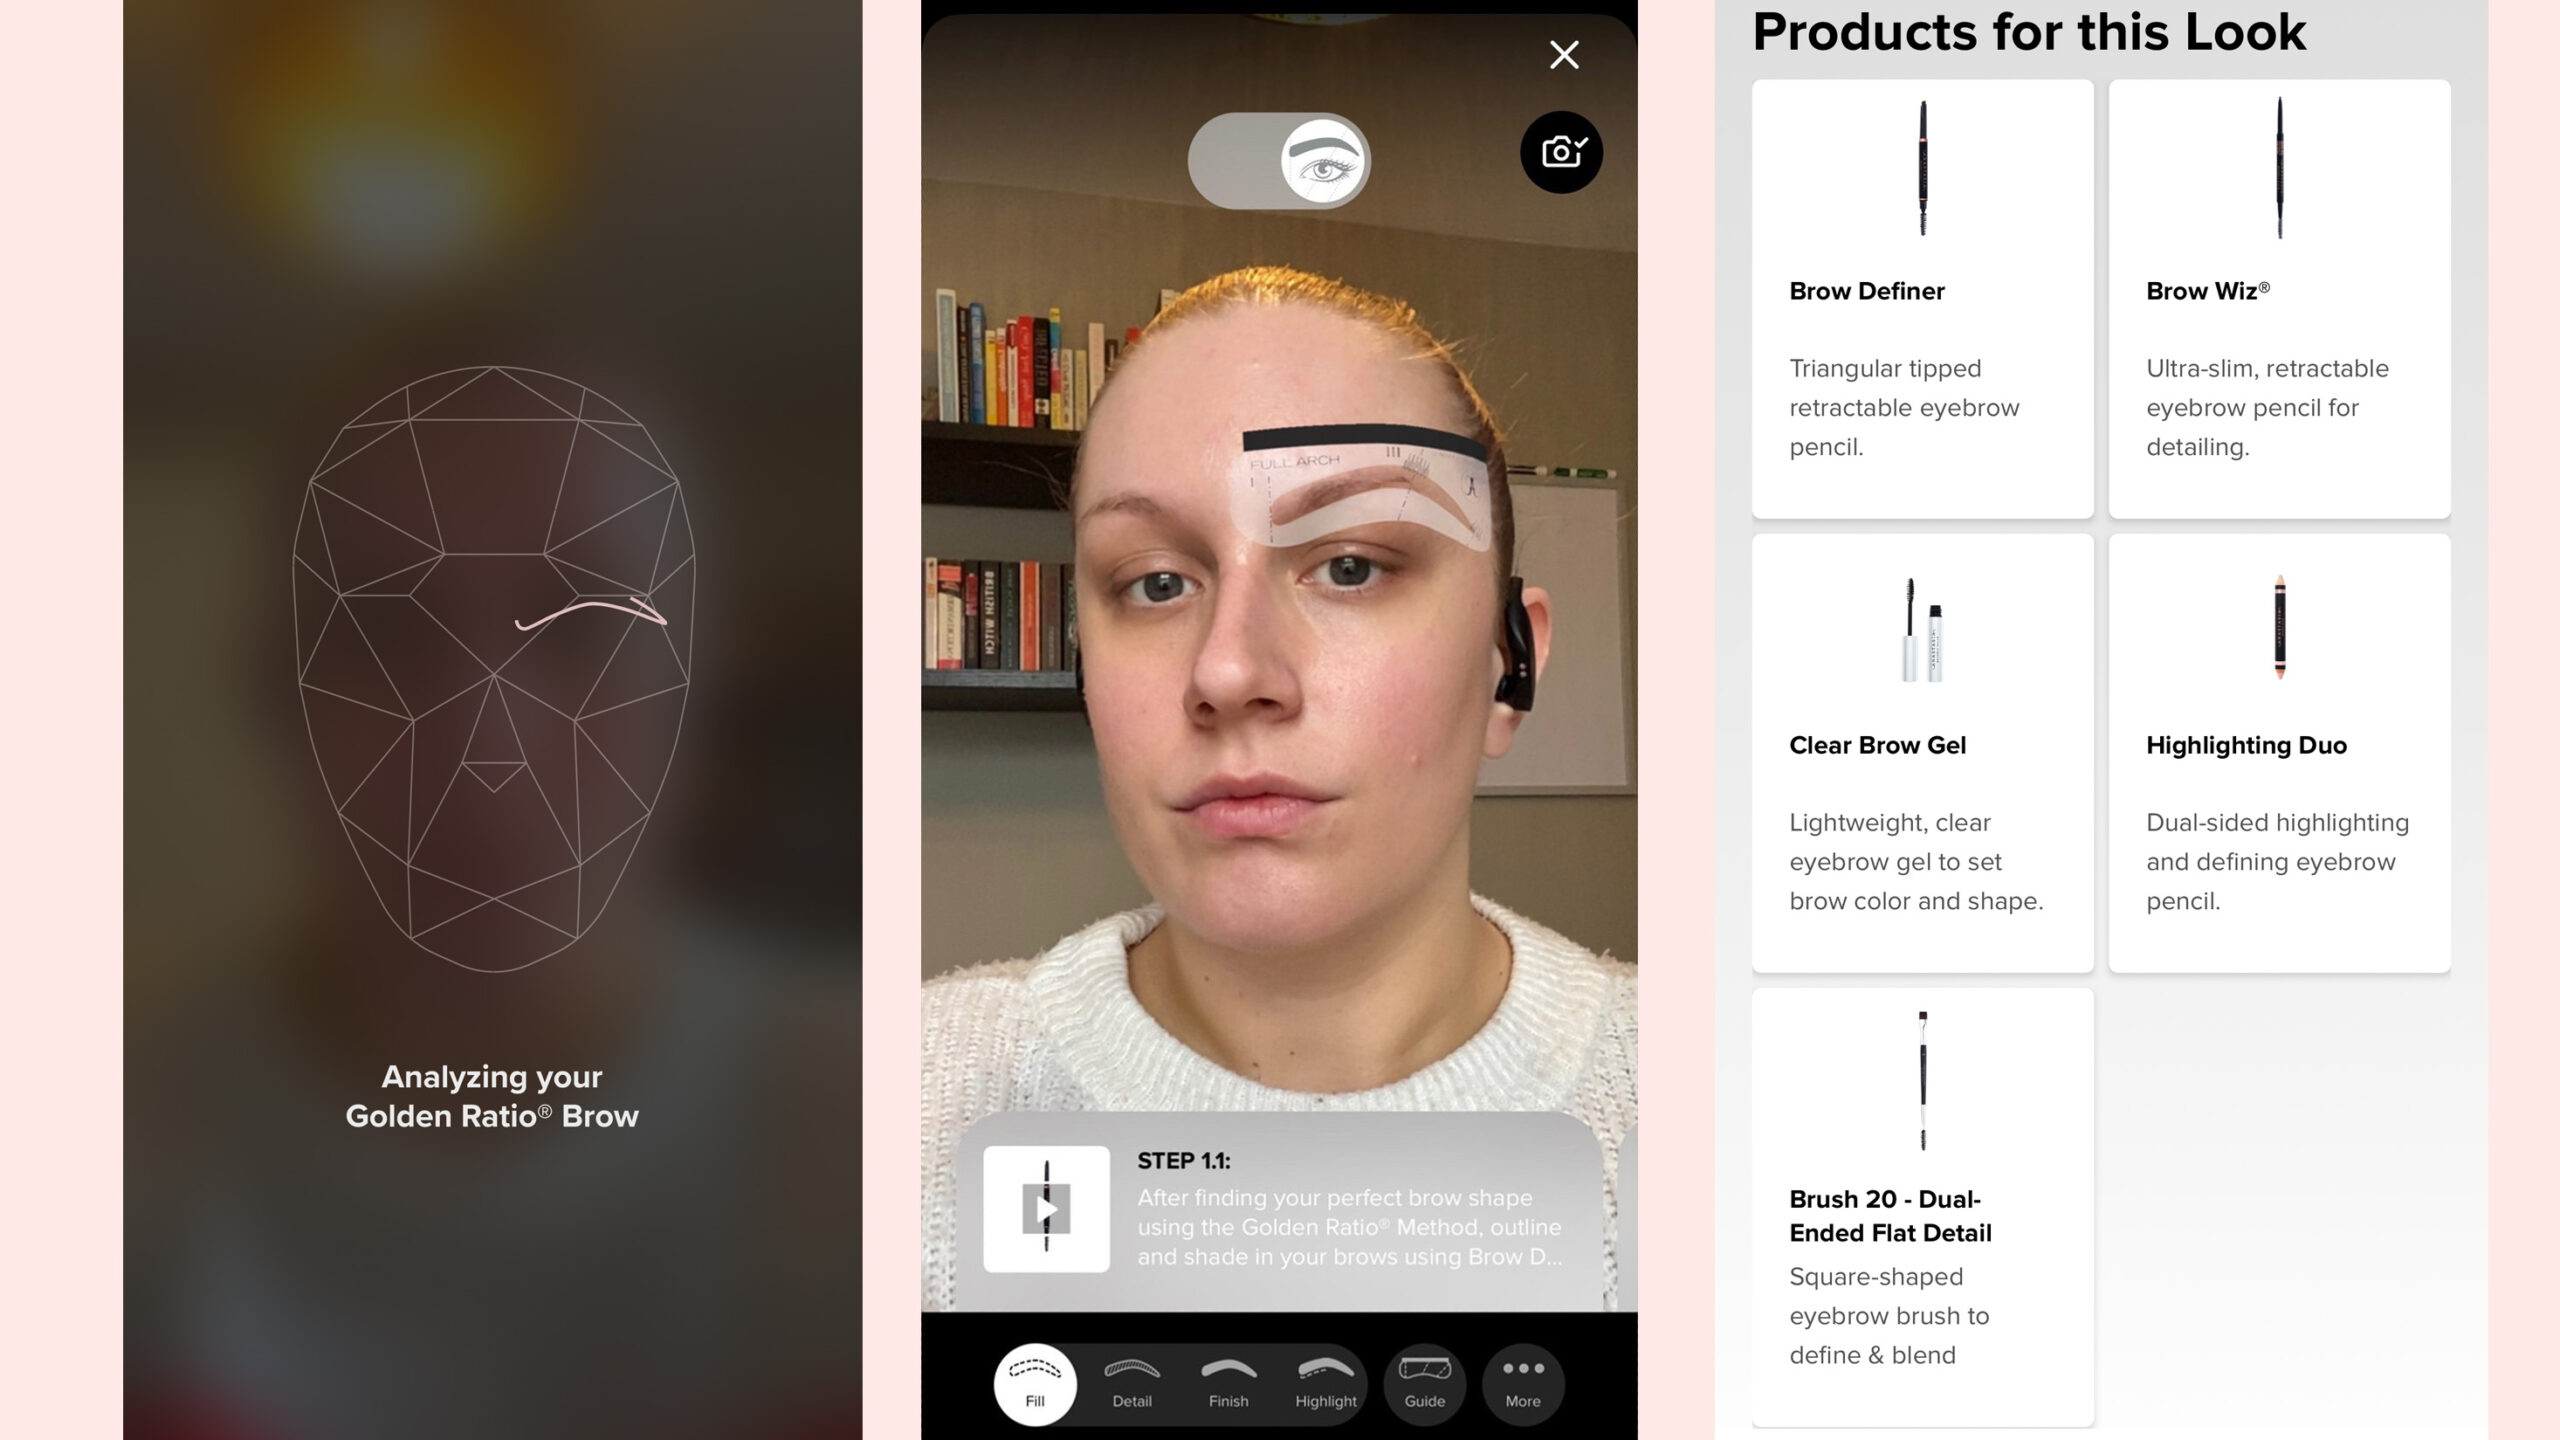
 Anastasia Beverly Hills – an OG of eyebrow shaping – recently launched a brow app designed to make doing your eyebrows much easier.
Called the Anastasia Beverly Hills Brow App, it analyses your face shape, dimensions, and the location of your features to determine which eyebrow shape best suits you. It then takes you through a step-by-step guide on how to draw eyebrows in that style.
You can then experiment, virtually, with various eyebrow shapes, colours and lengths via the app before getting advice on how to draw eyebrows, which products to buy, and more.
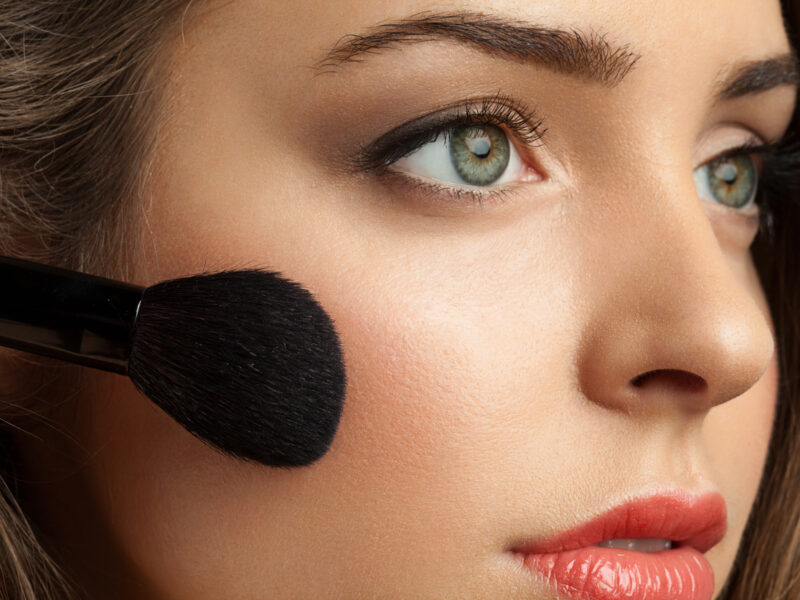
 Benefit
 Before you fill in your eyebrows, you need to groom and tame them.
Using a spoolie (you can read more about spoolies in our makeup brushes guide), brush your brow hairs upwards to see if any need trimming. While they’re brushed upwards, look to see where the hairs fall along the top brow line, if any seem to stick up significantly above the line, use small scissors to trim them.
Be careful not to overdo the trimming – use a magnified mirror in a well-lit room.
For any smaller hairs, stubble or those fine hairs at the end of your brows, you may need to get the tweezers out. According to Fides Baldesberger, brow expert and CEO of Rubis Tweezers, there are a number of steps you should take to get the best, manicured brows when tweezering.
1. Lighting is everything
“Bad lighting is the natural enemy of amazing brows,” explains Baldesberger. “You should only ever tweeze your brows in natural light. Not only will you be able to see stray hairs you’ve never noticed before, but you’ll have a more accurate idea of how your eyebrows are actually looking as you’re shaping them.”
mamabella tip: If you drive, keep a pair of tweezers in your car to take advantage of natural light and the flip-down mirror.
2. Avoid magnifying mirrors
When you’re staring at your face blown up to three times its normal size, you’re way more likely to get obsessive and over-pluck. For optimal shaping success, use a regular mirror “that’s about the same size as your face and don’t spend all your time staring super-closely at your brows,” continues Baldesberger.
“Take frequent steps back to get the full effect of your grooming efforts. Eyebrows look different at a distance, and that’s how most of the world is going to see you.”
3. Don’t worry about symmetry
“Don’t stress if your brows don’t match one another exactly. Eyebrows are meant to be sisters, not twins — so a little bit of variation in the width, arch and length is totally normal. Trying to force your eyebrows into perfect symmetry is a recipe for overplucking,” adds Baldesberger.
The next step is to draw an outline for your brows before tweezing any stray hairs, this will help you see which hairs need removing.
Use a nude or white coloured pencil to outline the outer shape of the brow. Draw in under and above the brow, this will give you an idea of how your brow shape and how your arch will look once you have tweezed. Stand back from the mirror to get an overall perspective and if you are happy with how it looks, then begin to pluck the hairs that you covered with the white/nude pencil.
MAMABELLA TIP
Start by filling in the middle section of your eyebrows first.
Now move upwards and outward going in the direction of the tail.
Once the tail is filled in, use any leftover product at the front section of the brow. In doing so, you avoid applying too much product to the front section.
This year’s trend is for more natural eyebrows so you can skip this step if you’re embracing this trend, but there can be a fine line between groomed natural brows and bushy, out-of-control ones so bear that in mind.
Once your eyebrows are mapped and groomed, you’re ready to fill in your eyebrows.
Beginners should start with a brow pencil before moving to a pomade once they’re more confident. This is because pencils give you more control and more accuracy. Make sure the pencil is sharp, to give you a fine, hair-like line.
Alternatively, we recommend the HDBrows Pro Pencil bundle. It might seem like it’s simply a pencil and sharpener, but it’s much more than that.
Resembling a mandolin – the super-sharp kitchen utensil used to create thin slices of fruit and veg – the Pro Super Shaper helps you create a slanted edge on your pencil that can be used to sweep up and across your brows.
To use, run the edge of the pencil over the blade slowly (and without applying any pressure) and the sharpener will take a slither of the pencil off each time. Repeat four or five times and then repeat on the other side. This creates what the brand calls a “desired wedge point.”
All brow products should be applied using short, fine hair-like strokes swept along the brow in the direction of your hair growth ending at the tail. Imagine you are drawing in each individual hair. This is the premise behind microblading, albeit more permanently.
Select an eyebrow colour that either matches or complements your own hair colour.
Your brow from the middle to tail needs to be darker than the front to middle to guide a person’s sight across your eye and provide more shape and definition to your overall look.
To keep your brows in place, set them after you have fully filled them in, using a good brow gel. Apply the gel brushing upwards and outwards, following the natural direction of the hairs. We recommend Morphe’s translucent Brow Setting Gel.

Victoria is Chief Makeup Artist and founder of Victoria Howe Make Up. After graduating from The Academy of Freelance Makeup in Soho two years ago, Victoria now owns and runs her own studio called The Beauty Barn in Havant specialising in helping women of all ages feel beautiful