There are few makeup products that can so closely be tied to a decade or era of fashion as blush – also know as rouge or blusher – but there are also so few products that are as versatile when it comes to switching and elevating a look.
A carefully placed blush can make you look younger – for a hell of a lot cheaper than botox! It can change the shape of your face, can enhance your eyes – or lips; can take you from day to night in one fell swoop and brighten your complexion. Using blusher is a simple way to look and feel fresher in winter months without whacking on the fake tan.
It can be tricky to get right, though. Go too hard, or too wide, and you can go from natural flush to clown quite quickly.
In the latest in our Ask the MUA series, our resident makeup artist Victoria Howe, owner and Chief Makeup Artist at Victoria Howe Make Up has explained how to apply blush, including where to put it. Below Victoria’s step-by-step guide, we also have
Victoria has previously revealed how to apply mascara like a pro, how to use concealer on mature skin, how to apply eyeshadow, how to get rid of dark circles, and how to get flawless skin among her many other brilliant expert guides. You can see them all here.
For further inspiration, follow Victoria’s incredible looks on her Instagram page, @victoria_howe_makeup.
Get to know your face shape and apply blush in a way that mimics where you would naturally flush, while creating the effect of lifting your eyes.
Blusher largely belongs on the apples of the cheeks but if you have a round face and want to make it look longer, as an example, putting too much on the apples of your cheeks can actually accentuate your circular face.
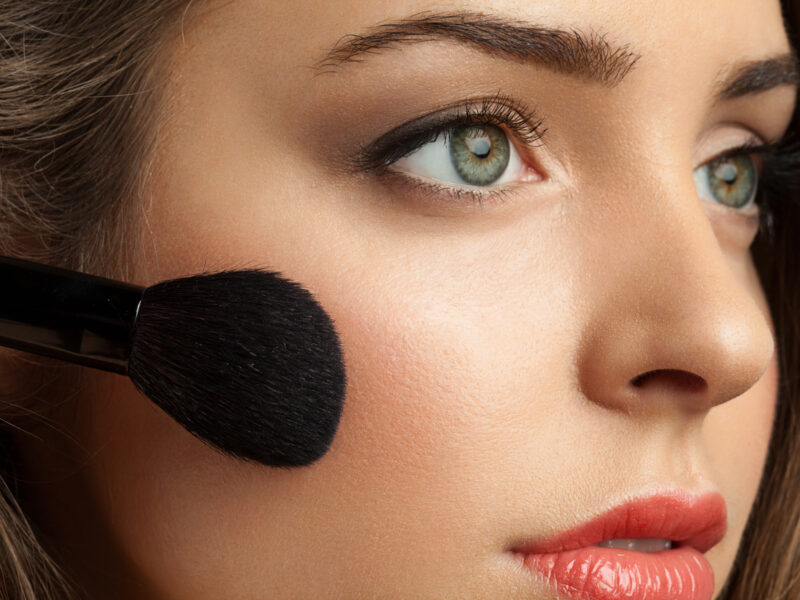
Blush is usually applied over foundation, so don’t press too hard with the brush, or else you risk dragging product into places that you don’t want it. It’s also usually one of the final steps in your routine, after you’ve applied foundation, concealer, contouring, bronzer, powder and so on.
We like to place a small amount of blush on the apples of our cheeks before blending it up and out across the cheekbones to diffuse it. This makes it look as natural as possible while drawing attention to the eyes, lifting them up.
This is a technique commonly known as ‘draping’. It was hugely popular in the 80s and early 90s and has been making a comeback since around 2018. By placing it along your cheekbones, it’s a great – and often softer – alternative to harsh contouring or it can complement contoured cheekbones.
Blending is key, there should be no harsh lines, shapes or stripes and blush should always be blended upwards, never downwards!
We recommend keeping a straight face when you apply blush in this way.
Smiling is a great way to pinpoint the apples of your cheeks, but if you’re draping the blusher across your cheekbones, you’ll notice that your cheekbone drops when you stop smiling. This can leave your blush looking great when you’re smiling but will place it too low when your face is in any other expression.
This creates the opposite effect of lifting your eyes and complexion and causes it to looked drooped.
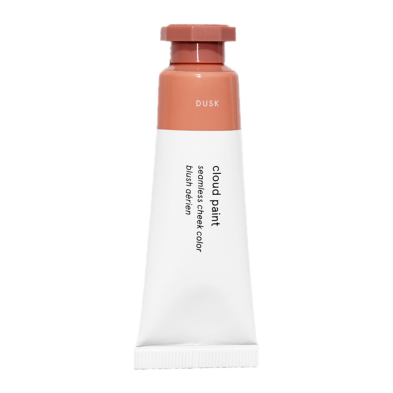 Glossier
 The choices for blush products are almost endless. You can buy them as creams, liquids, loose powders, pressed powders, gels, tints, and more. Some are matte. Some are dewy. Some contain a shimmer so they double up as a highlighter and blusher in one. You can see which are our favourites in our best blusher guide.
If you have dry or mature skin, opt for a cream or a liquid blush. These give a beautiful dewy glow-from-within and should be applied using a stippling brush. You can then blend the cream/liquid out in circular motions to make it appear softer and more natural.
♥ mamabella recommends: Real Techniques Stippling Brush
You can also use your finger to apply small amounts of cream and liquid blush if you want more control over its placement. You can then use your finger to blend it out, but we still feel that a stippling brush is more effective.
Traditional powder blush should, alternative, be applied with a soft, fluffy brush, which you should start lightly with and build up the intensity of the colour.
♥ mamabella recommends: So Eco Blush Brush
Makeup artists are somewhat divided about how to choose a blusher colour because it largely depends on your skin tone, the time of year, the type of blusher you’re using (cream/liquid/powder), what kind of look you’re after and so on.
MAMABELLA TIP
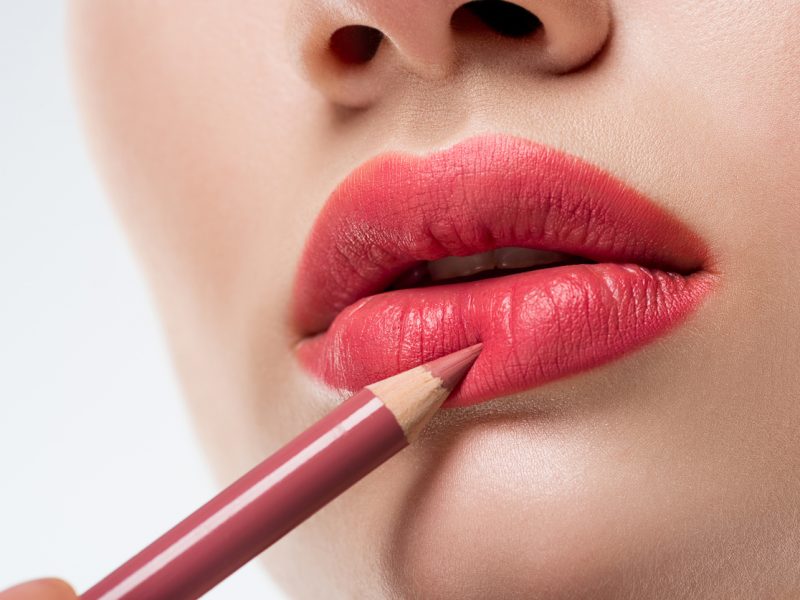
Run out of blusher or don’t own one? Use lipstick! Lipstick can be used as a lip colour, as well as to add a flush to your cheeks.
This not only saves money – because one product is doing the job of two – it’s a good way to experiment with different shades, to see which suit you best. Especially if you have a selection of lipsticks already.
That way, once you’ve found a shade you like you can buy a blusher to suit.
For instance, in the winter a paler pink on fair skin can add a lovely, natural “just in from the cold” colour.
Paler pinks and lighter reds on dark skin can give the appearance of a delicate flush.
In summer, your blush may contain more orange to match your tanned or darker skin, or come in a little darker/more pigmented.
For natural looks, we like to use a tint or stain which adds a touch of colour without going too hard.
Due to these many variables, it means there isn’t technically a right or wrong way to choose a blusher shade.
It’s more to do with your personal preference, how you apply it, and how much you apply.
If you want consistency across your look, you can match it to your eye makeup or lipstick but this isn’t necessary either.
“It’s about complementing your makeup but mostly about brightening your complexion,” said Max Factor makeup artist Mel Arter.
We encourage you to experiment with different colours. Start off lightly and build up the colour as you.

Victoria is Chief Makeup Artist and founder of Victoria Howe Make Up. After graduating from The Academy of Freelance Makeup in Soho two years ago, Victoria now owns and runs her own studio called The Beauty Barn in Havant specialising in helping women of all ages feel beautiful